

 Tweet

-
[COLOR="Navy"][SIZE="6"]إنا لله وإنا إليه راجعون
ولا تحسبن الذين قتلوا في سبيل الله أمواتا بل أحياء عند ربهم يرزقون [/SIZE][/COLOR] -
 KSPEC PERFORMANCE
Click and Close.[COLOR="Navy"][SIZE="6"]إنا لله وإنا إليه راجعون
ولا تحسبن الذين قتلوا في سبيل الله أمواتا بل أحياء عند ربهم يرزقون [/SIZE][/COLOR]Comment
-
 [COLOR="Navy"][SIZE="6"]إنا لله وإنا إليه راجعون
ولا تحسبن الذين قتلوا في سبيل الله أمواتا بل أحياء عند ربهم يرزقون [/SIZE][/COLOR]Comment
-
The left side has led brake and revers lights while the right side is stock. vvvv

This image has been resized. Click this bar to view the full image.
My reverse lights at night! vvvv
This image has been resized. Click this bar to view the full image.
YouTube - LED Lights in Operation2.wmv
YouTube - Taillights2.wmv[COLOR="Navy"][SIZE="6"]إنا لله وإنا إليه راجعون
ولا تحسبن الذين قتلوا في سبيل الله أمواتا بل أحياء عند ربهم يرزقون [/SIZE][/COLOR]Comment
-


Tags in this image:
Tags in this image:

Tags in this image:


Click this bar to view the full image.
This image has been resized. Click this bar to view the full image.


This image has been resized. Click this bar to view the full image.
This image has been resized. Click this bar to view the full image.
This image has been resized. Click this bar to view the full image.
YouTube - Installation Video - Headlight and Tail Light Tint Film
This image has been resized. Click this bar to view the full image.
This image has been resized. Click this bar to view the full image.
This image has been resized. Click this bar to view the full image.
This image has been resized. Click this bar to view the full image.
This image has been resized. Click this bar to view the full image.
This image has been resized. Click this bar to view the full image.


This image has been resized. Click this bar to view the full image.
This image has been resized. Click this bar to view the full image.

Click this bar to view the full image.
Click this bar to view the full image.

Click this bar to view the full image.

This image has been resized. Click this bar to view the full image.
This image has been resized. Click this bar to view the full image.
This image has been resized. Click this bar to view the full image.
At Road Race helping vendors test fit for the Tribe (Pulley, Exhaust & Cat Delete and CF Splitter)
This image has been resized. Click this bar to view the full image.
Dyno Runs! From 165bhp to 182bhp (151WHP) on Automatic!!
This image has been resized. Click this bar to view the full image.
Closeup of Intake and Exhaust
This image has been resized. Click this bar to view the full image.
Click this bar to view the full image.
Close up of RED CF Center Caps!
This image has been resized. Click this bar to view the full image.
Rear View
This image has been resized. Click this bar to view the full image.
List of Mods:
>>Custom Intake from Spectre Modular Intake Systems
>>ECU Relocation kit
>>RRM Lightened Crank Pulley
>>RRM 2nd Cat Delete kit
>>Hanson DynoMax Hemi Exhaust system (Cat Back)
>>RoadRun Front Grill / Rear Emblem
>>Complete Debadge
>>3-way LED mirror covers(Black)
>>DRL lighting mod to run Fogs without head/parking lamps
>>Vinyl Roof (Black Matte)
>>Tomato-T Steering wheel Emblem
>>Gen-Coupe "Coupe" Carbon Fiber center caps fit to stock wheels
>>LED License Plate Lamps
>>LED Interior Lighting including backseats and trunk lamp)
>>Custom Katzkins leather Heated Seats x 4(Black w/ RR stitched seats)
>>MTX Thunderlink powered sub
>>iPod Cable


This image has been resized. Click this bar to view the full image.
 [COLOR="Navy"][SIZE="6"]إنا لله وإنا إليه راجعون
ولا تحسبن الذين قتلوا في سبيل الله أمواتا بل أحياء عند ربهم يرزقون [/SIZE][/COLOR]Comment
-
This image has been resized. Click this bar to view the full image.
This image has been resized. Click this bar to view the full image.
This image has been resized. Click this bar to view the full image.
This image has been resized. Click this bar to view the full image.
This image has been resized. Click this bar to view the full image.
This image has been resized. Click this bar to view the full image.
This image has been resized. Click this bar to view the full image. [COLOR="Navy"][SIZE="6"]إنا لله وإنا إليه راجعون
ولا تحسبن الذين قتلوا في سبيل الله أمواتا بل أحياء عند ربهم يرزقون [/SIZE][/COLOR]Comment
-
 [COLOR="Navy"][SIZE="6"]إنا لله وإنا إليه راجعون
ولا تحسبن الذين قتلوا في سبيل الله أمواتا بل أحياء عند ربهم يرزقون [/SIZE][/COLOR]Comment
-
This image has been resized. Click this bar to view the full image.
The view in my garage of the lip spoiler!
PS: Don't mind the bad guys taped to the wall. They all took multiple head shots at 30 yards with 5.56 green tips.
This image has been resized. Click this bar to view the full image.
Same position, lower angle.
PS: There are those head shot victims again... ;-)
Click this bar to view the full image.
View from Above... looks awesome.
This image has been resized. Click this bar to view the full image.
Can anyone translate this for me? :-p
Click this bar to view the full image. [COLOR="Navy"][SIZE="6"]إنا لله وإنا إليه راجعون
ولا تحسبن الذين قتلوا في سبيل الله أمواتا بل أحياء عند ربهم يرزقون [/SIZE][/COLOR]Comment
-
 [COLOR="Navy"][SIZE="6"]إنا لله وإنا إليه راجعون
ولا تحسبن الذين قتلوا في سبيل الله أمواتا بل أحياء عند ربهم يرزقون [/SIZE][/COLOR]Comment
-

This image has been resized. Click this bar to view the full image. [COLOR="Navy"][SIZE="6"]إنا لله وإنا إليه راجعون
ولا تحسبن الذين قتلوا في سبيل الله أمواتا بل أحياء عند ربهم يرزقون [/SIZE][/COLOR]Comment
-

This image has been resized. Click this bar to view the full image. [COLOR="Navy"][SIZE="6"]إنا لله وإنا إليه راجعون
ولا تحسبن الذين قتلوا في سبيل الله أمواتا بل أحياء عند ربهم يرزقون [/SIZE][/COLOR]Comment
-


 [COLOR="Navy"][SIZE="6"]إنا لله وإنا إليه راجعون
ولا تحسبن الذين قتلوا في سبيل الله أمواتا بل أحياء عند ربهم يرزقون [/SIZE][/COLOR]Comment
-
This image has been resized. Click this bar to view the full image.
This image has been resized. Click this bar to view the full image.
This image has been resized. Click this bar to view the full image.
This image has been resized. Click this bar to view the full image.
[COLOR="Navy"][SIZE="6"]إنا لله وإنا إليه راجعون
ولا تحسبن الذين قتلوا في سبيل الله أمواتا بل أحياء عند ربهم يرزقون [/SIZE][/COLOR]Comment
-
This image has been resized. Click this bar to view the full image.
This image has been resized. Click this bar to view the full image.
This image has been resized. Click this bar to view the full image.
This image has been resized. Click this bar to view the full image.
[COLOR="Navy"][SIZE="6"]إنا لله وإنا إليه راجعون
ولا تحسبن الذين قتلوا في سبيل الله أمواتا بل أحياء عند ربهم يرزقون [/SIZE][/COLOR]Comment
-
This image has been resized. Click this bar to view the full image.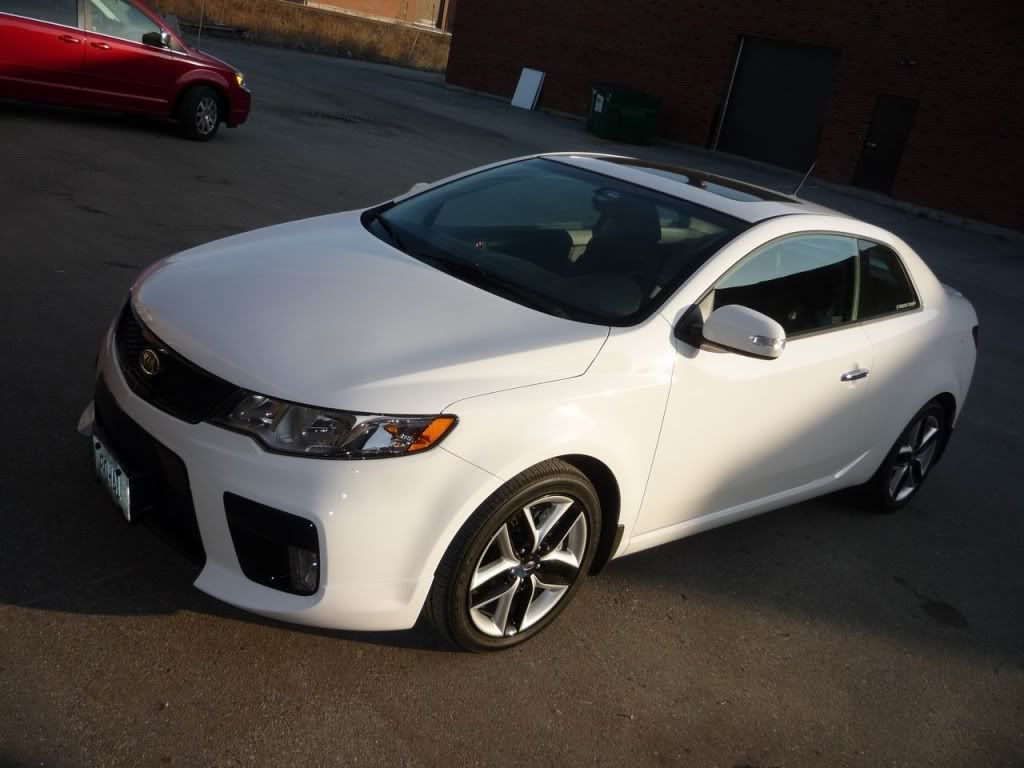
R side skirt
Here I was setting up for the side skirts.
I precut some painters tape to help hold on the part to the rocker to define its position.
Tip: use the foam sheet and place it below the car incase the part at the opposite end slips and falls to the ground. It’ll prevent any touch-ups.
This image has been resized. Click this bar to view the full image.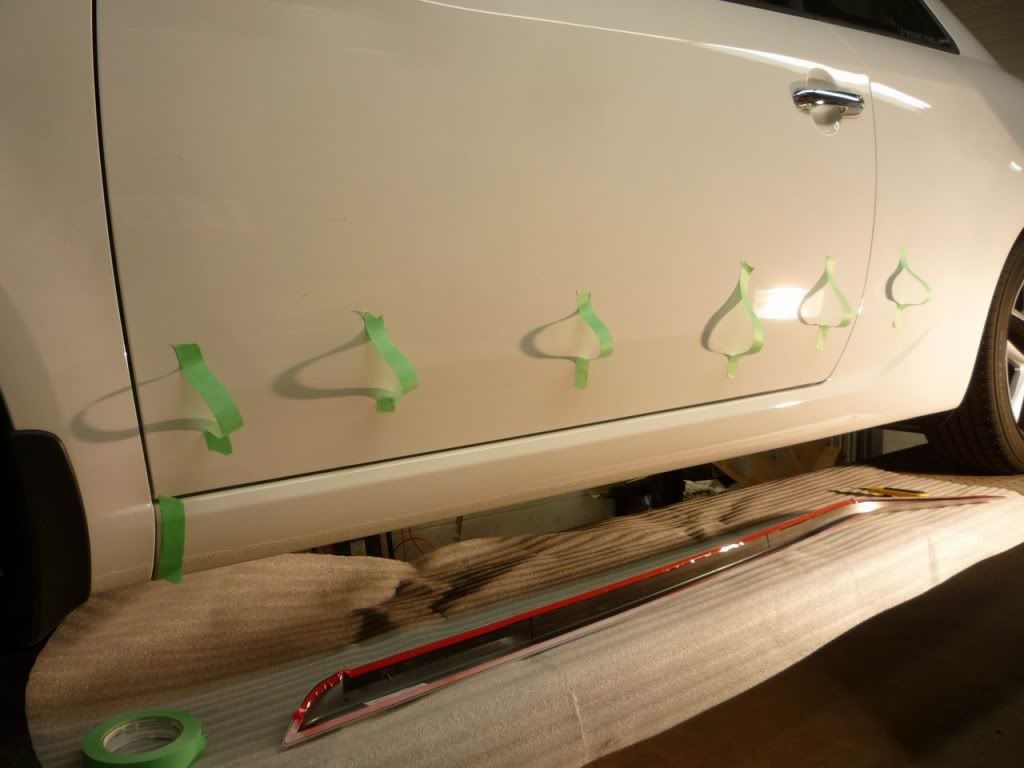
The 1” side tape is perfect to defining the position of the front edge
This image has been resized. Click this bar to view the full image.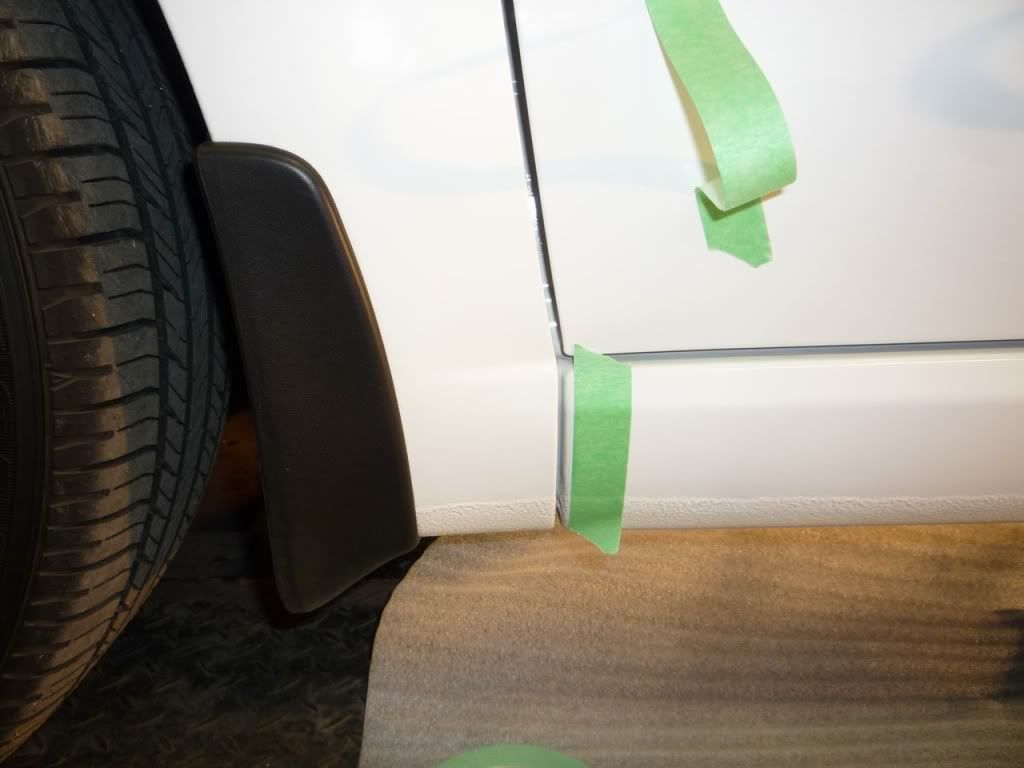
Side skirt installation complete
This image has been resized. Click this bar to view the full image.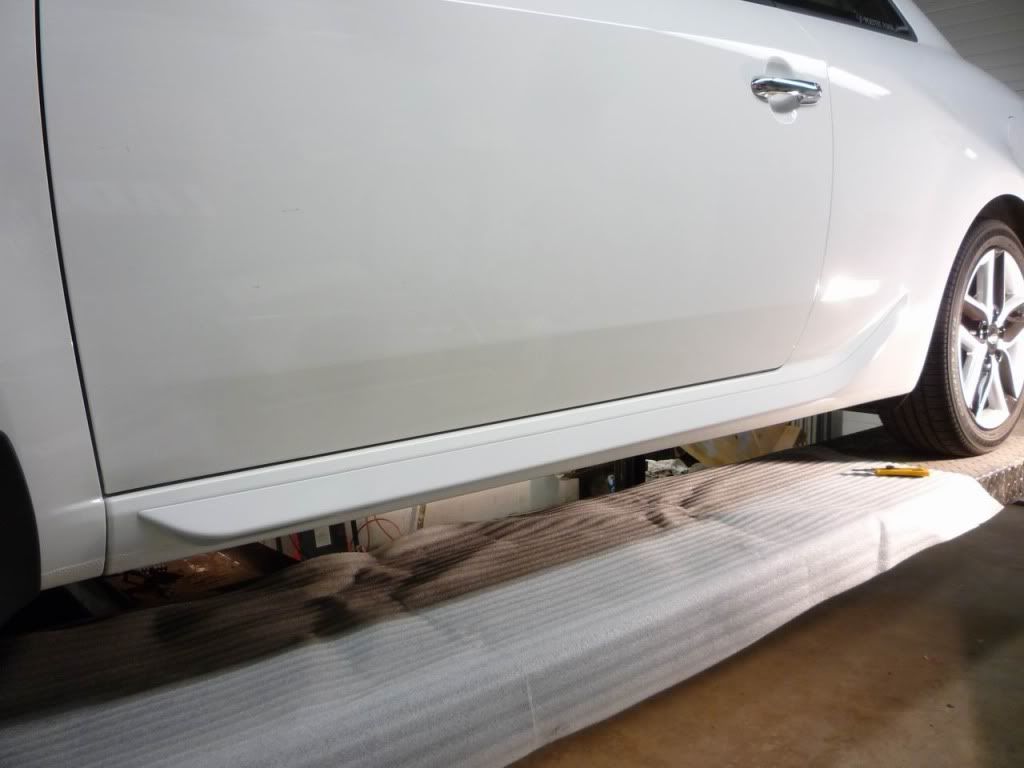
This image has been resized. Click this bar to view the full image.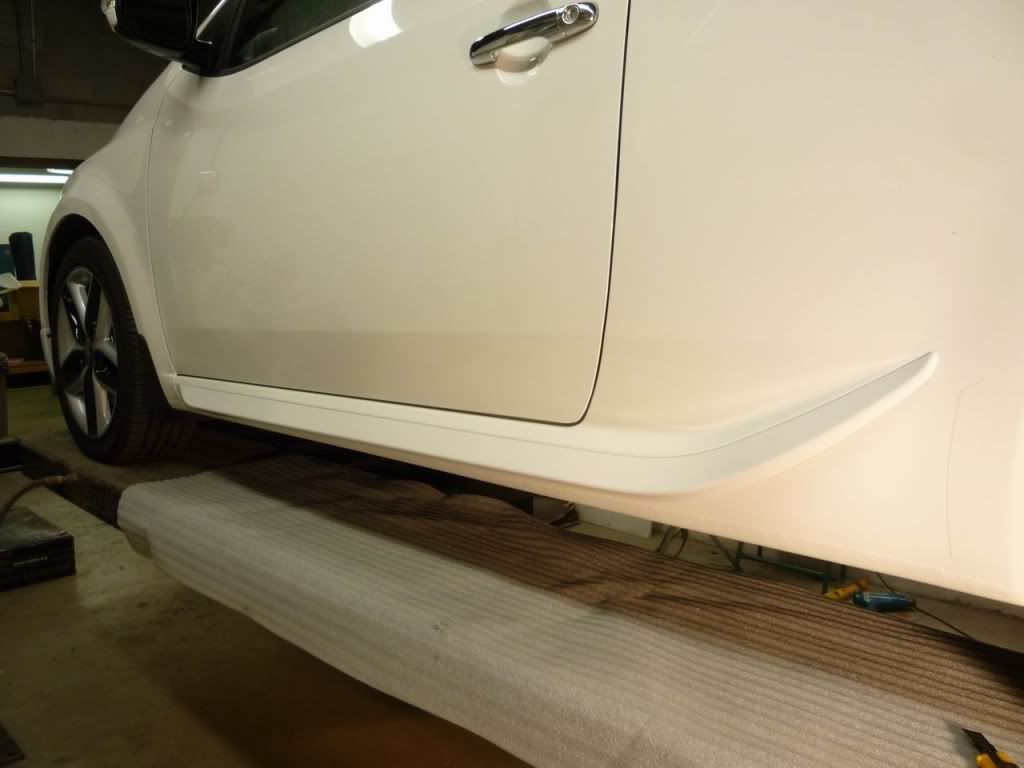
This image has been resized. Click this bar to view the full image.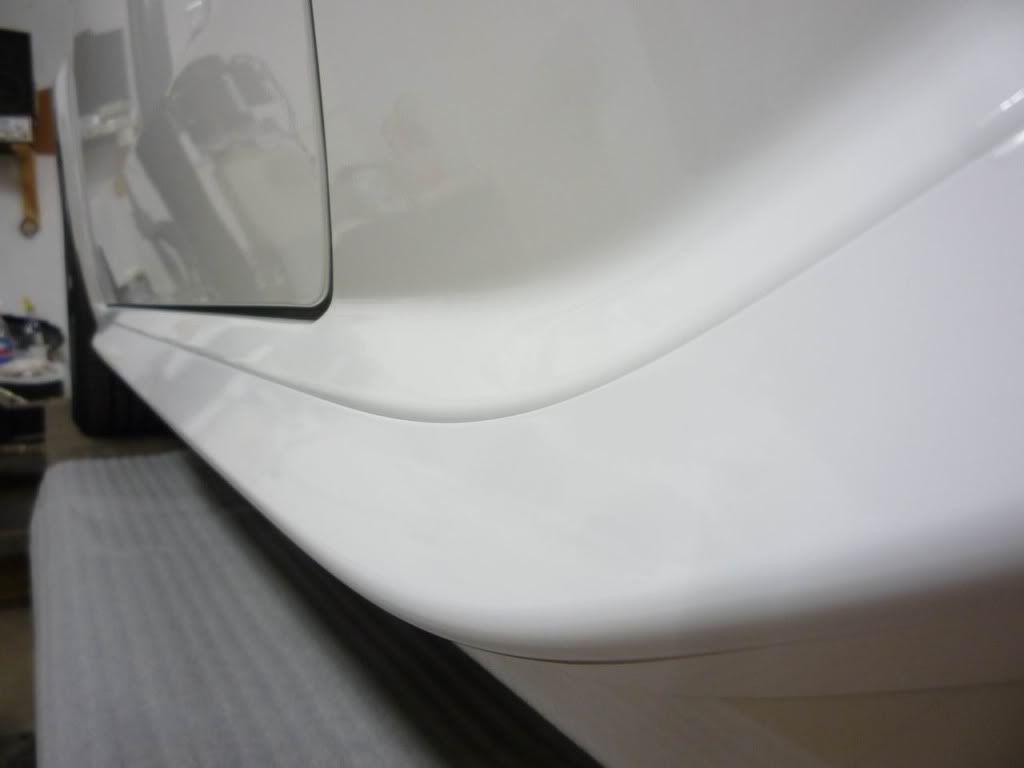
R rear lip style spoiler
Here’s the spoiler after painting
This image has been resized. Click this bar to view the full image.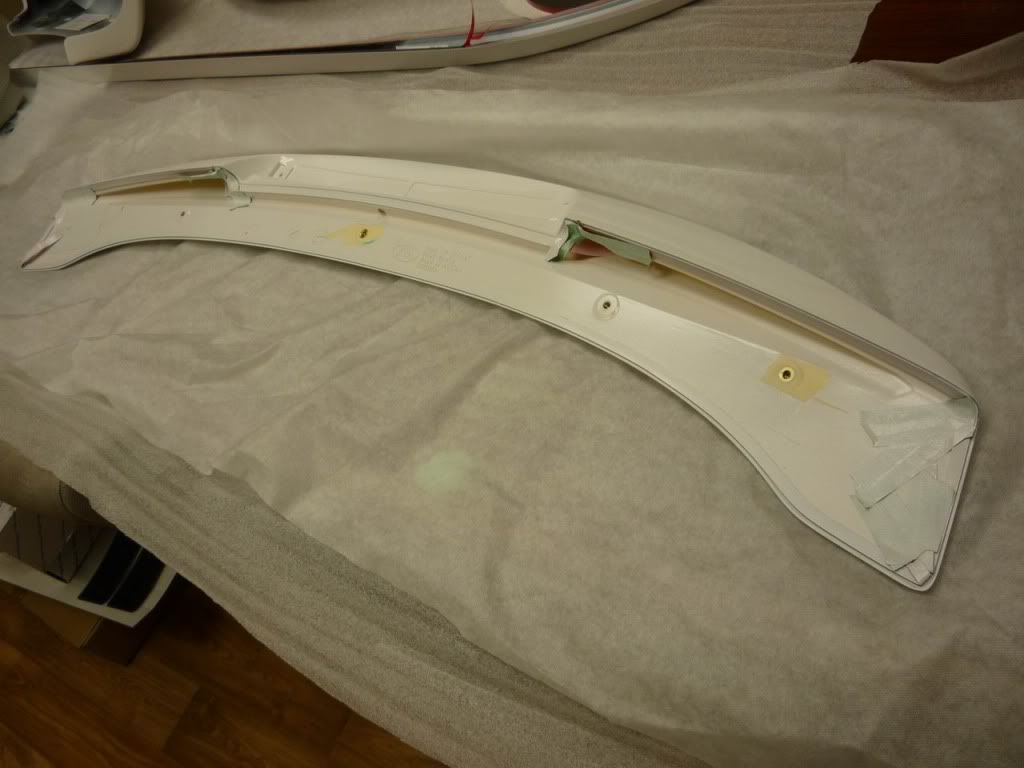
The black strips on stuck on the deck lid are called drill guides. They have a stem which slips into the 5 mounting positions of the spoiler and help transfer those locations onto the deck lid. The green painters tape was used to provide me with the center position I found when I first placed the spoiler on the deck lid.
This image has been resized. Click this bar to view the full image.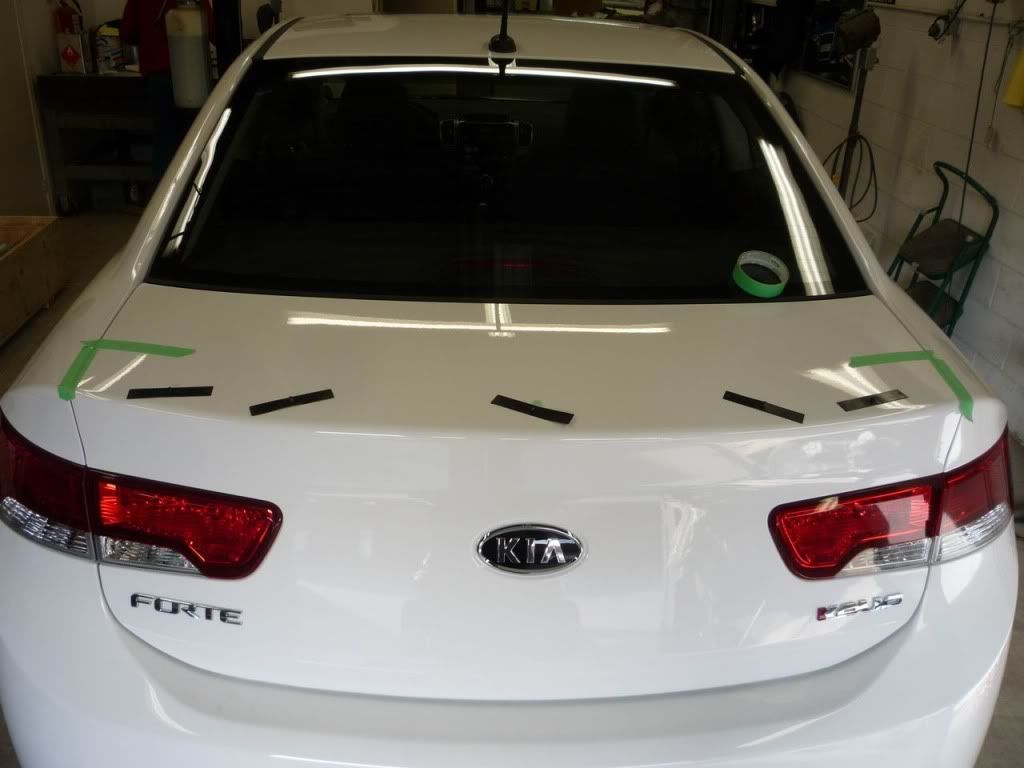
I mounted the brake light to the spoiler. NOTE: the R spoilers will include a Hella brake light with a RED lens. I used a Hella light with a clear lens (lights up red) from an old project which I wanted to try out.
This image has been resized. Click this bar to view the full image.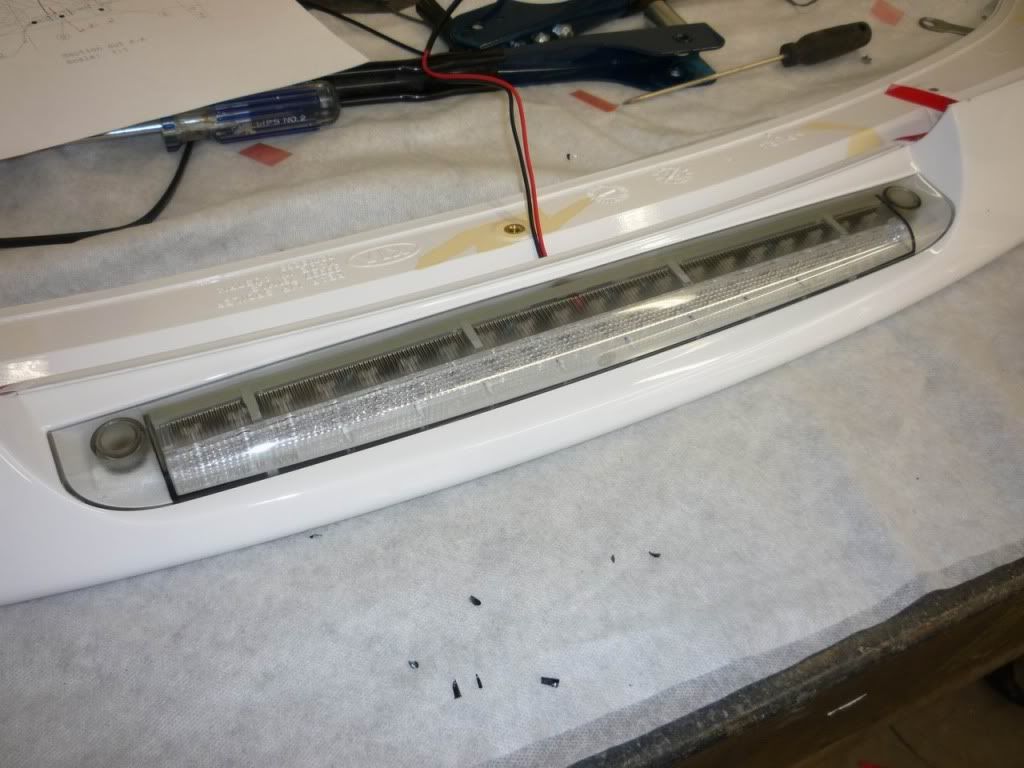
These show the connection to the center stop light located below the rear parcel ....f. We also included some foam pads to wrap the wires in a couple of location to avoid any potential damage.
This image has been resized. Click this bar to view the full image.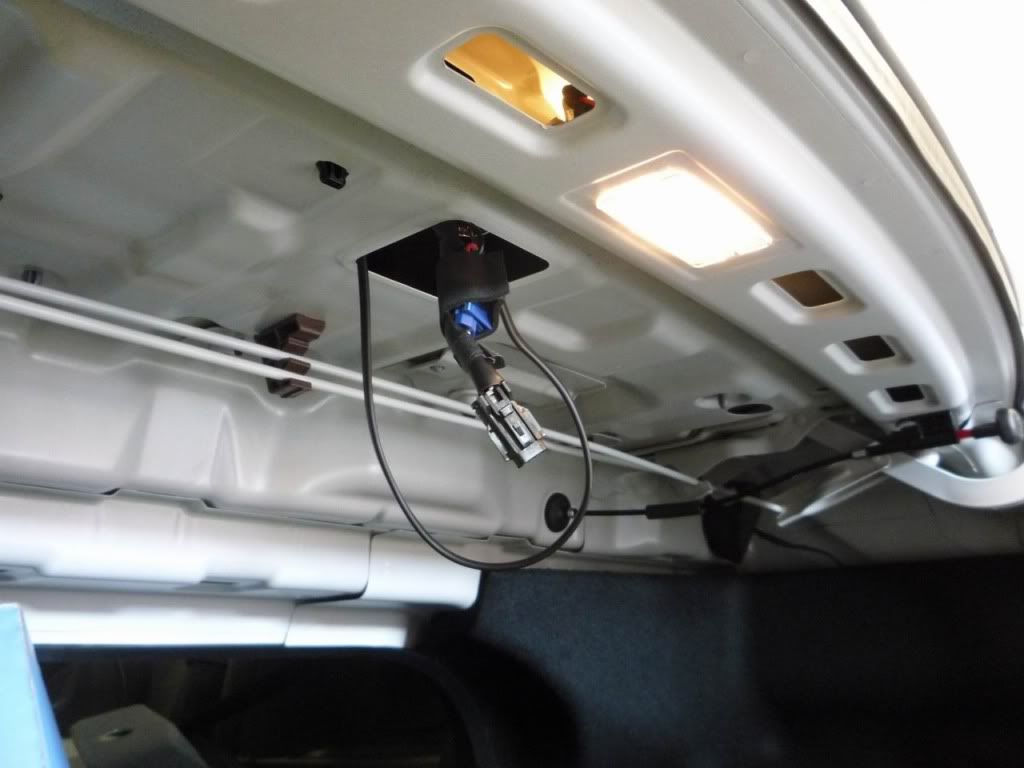
This image has been resized. Click this bar to view the full image.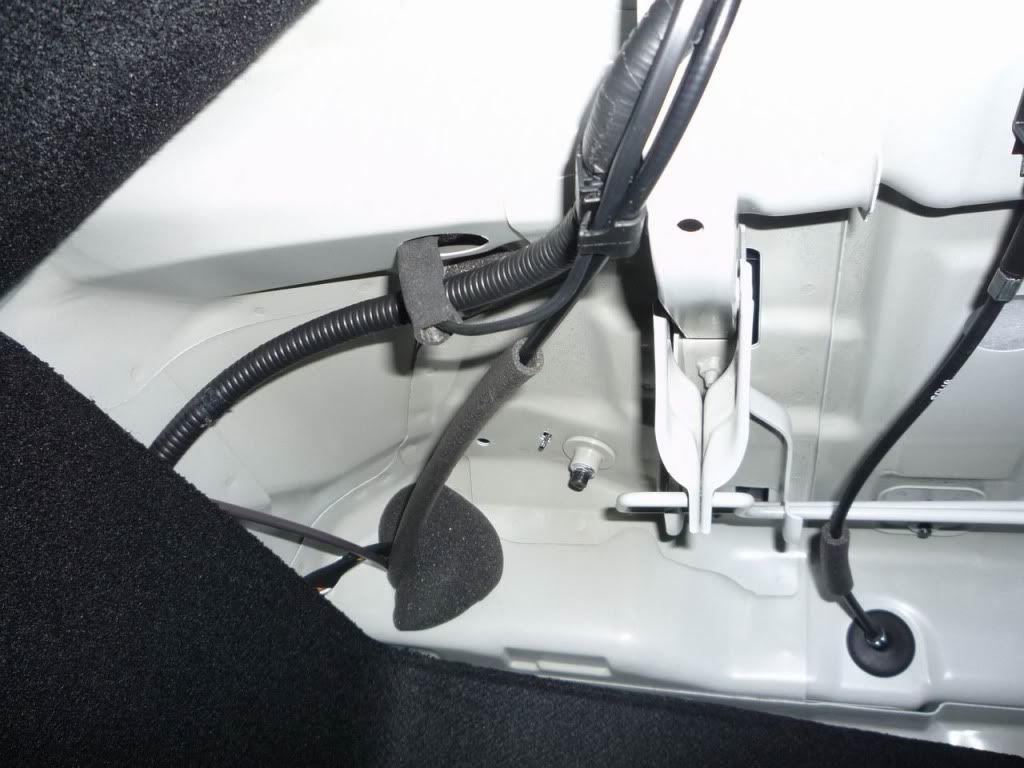
Rear spoiler installation complete
This image has been resized. Click this bar to view the full image.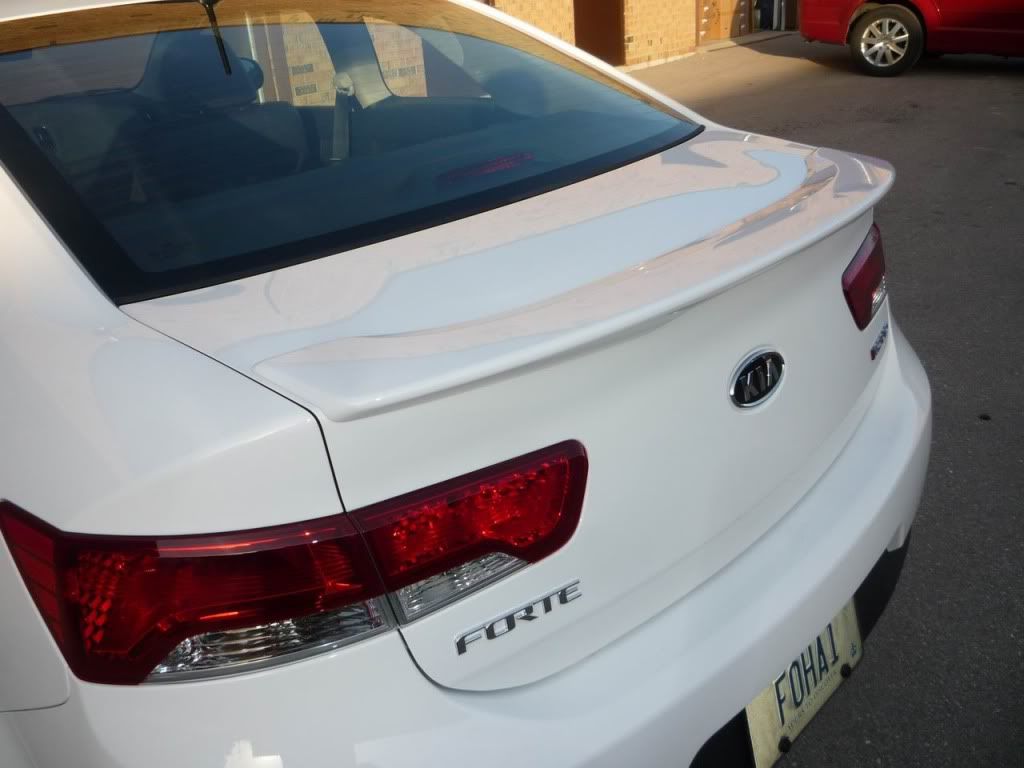
This image has been resized. Click this bar to view the full image.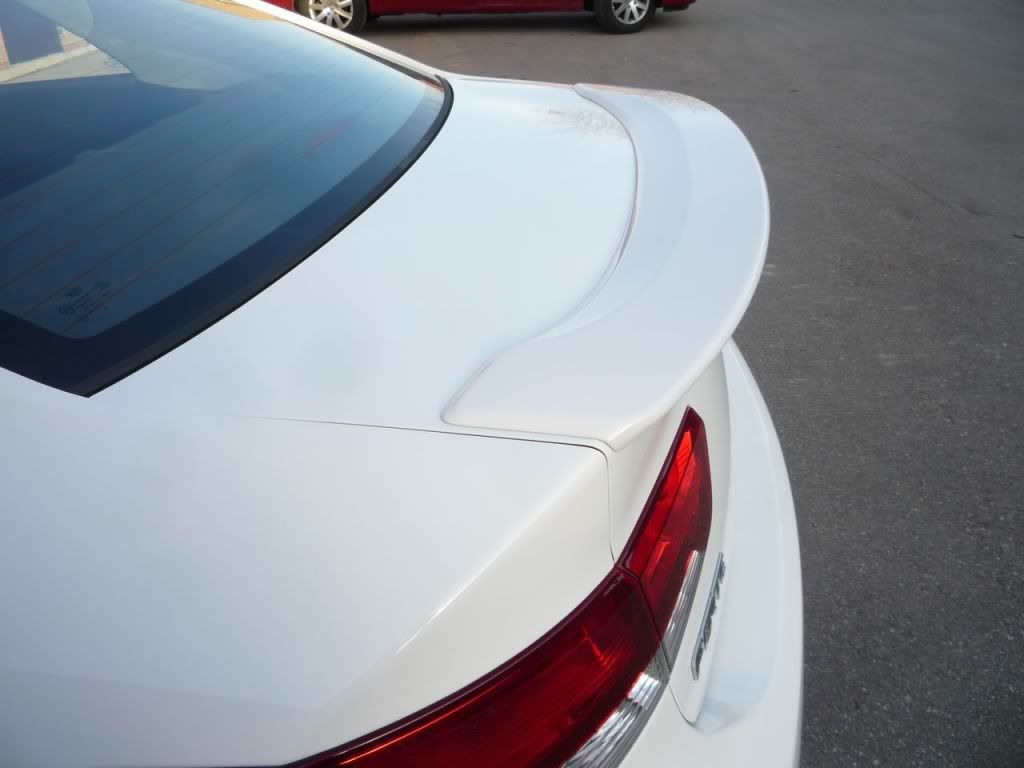
This image has been resized. Click this bar to view the full image.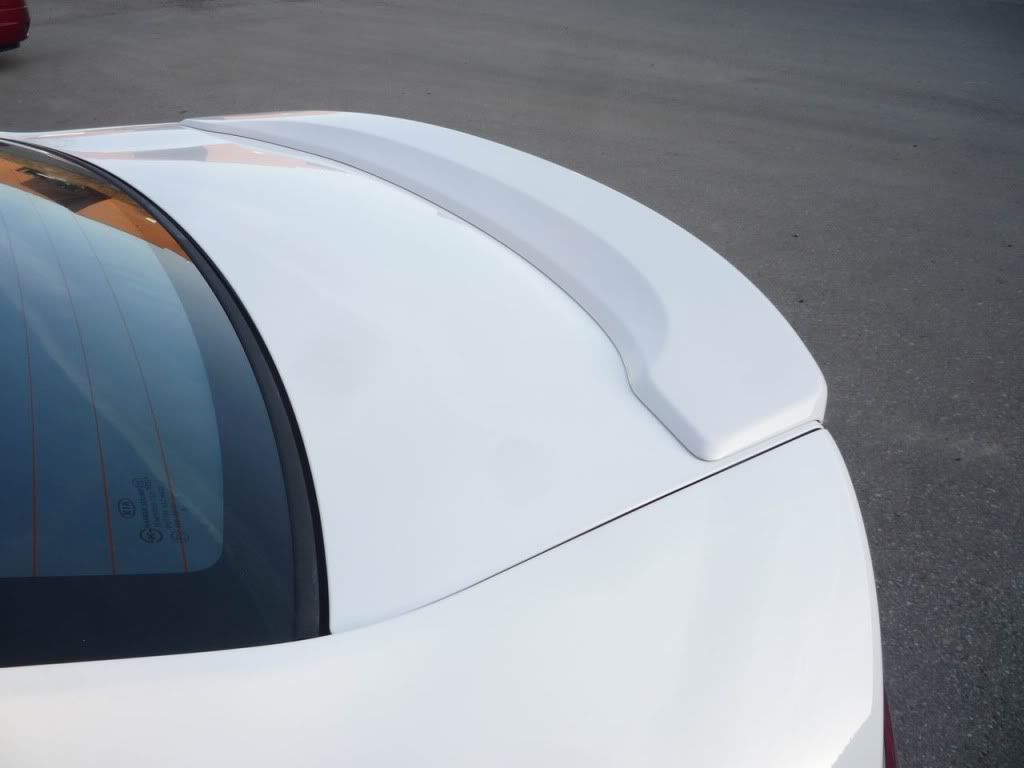
This image has been resized. Click this bar to view the full image.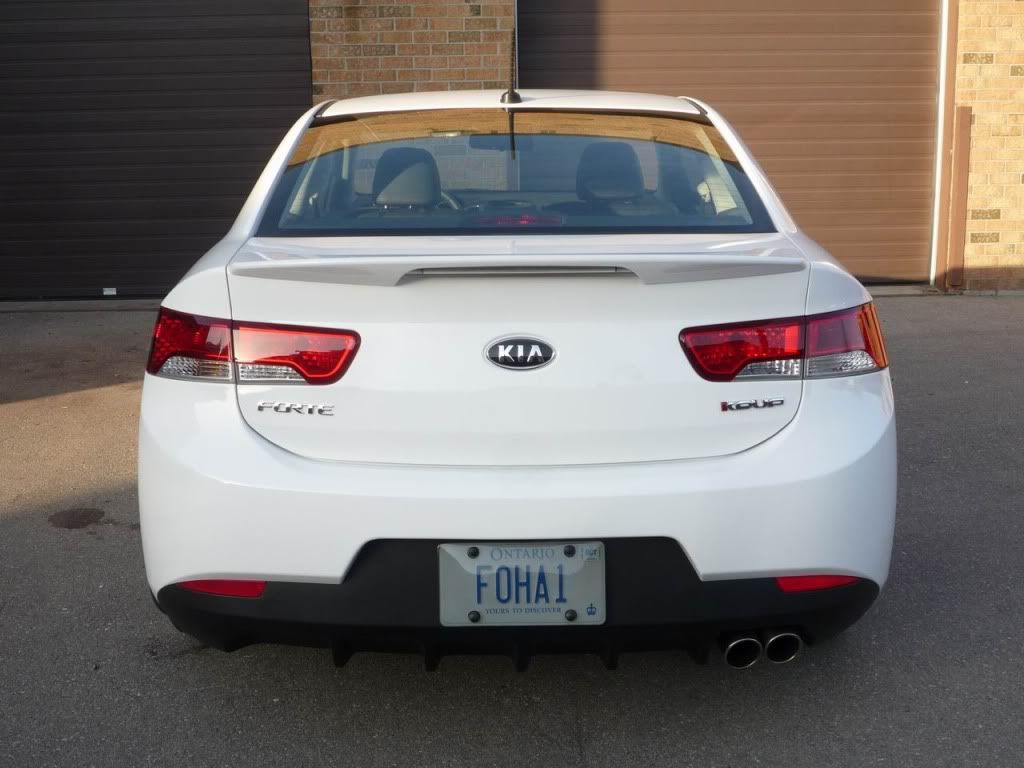
Here’s a side view but I didn’t have the side skirts installed yet.
This image has been resized. Click this bar to view the full image.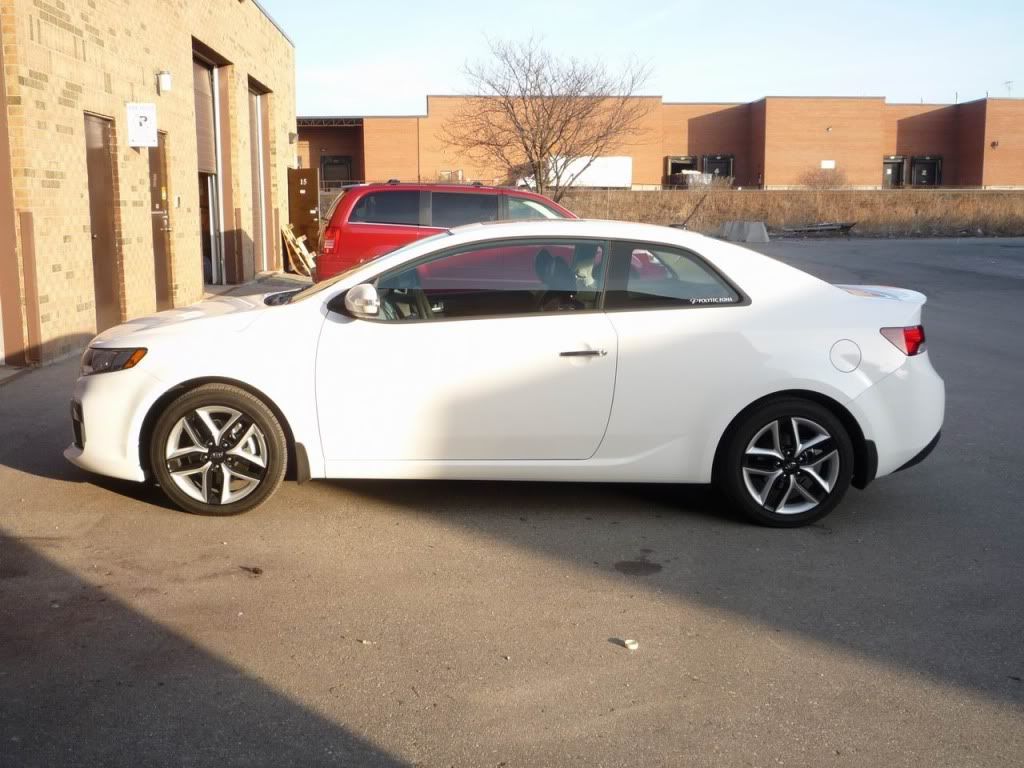
R door sill plates
I used a couple of strips of tape on either side of the original black door sill plate so I know where to place the new R sill plate.
I removed the original black plastic door sill plate using a plastic clip removal tool.
Tip: along the edge, I placed a rag underneath the tool to avoid scuffing the painted surface.
This image has been resized. Click this bar to view the full image.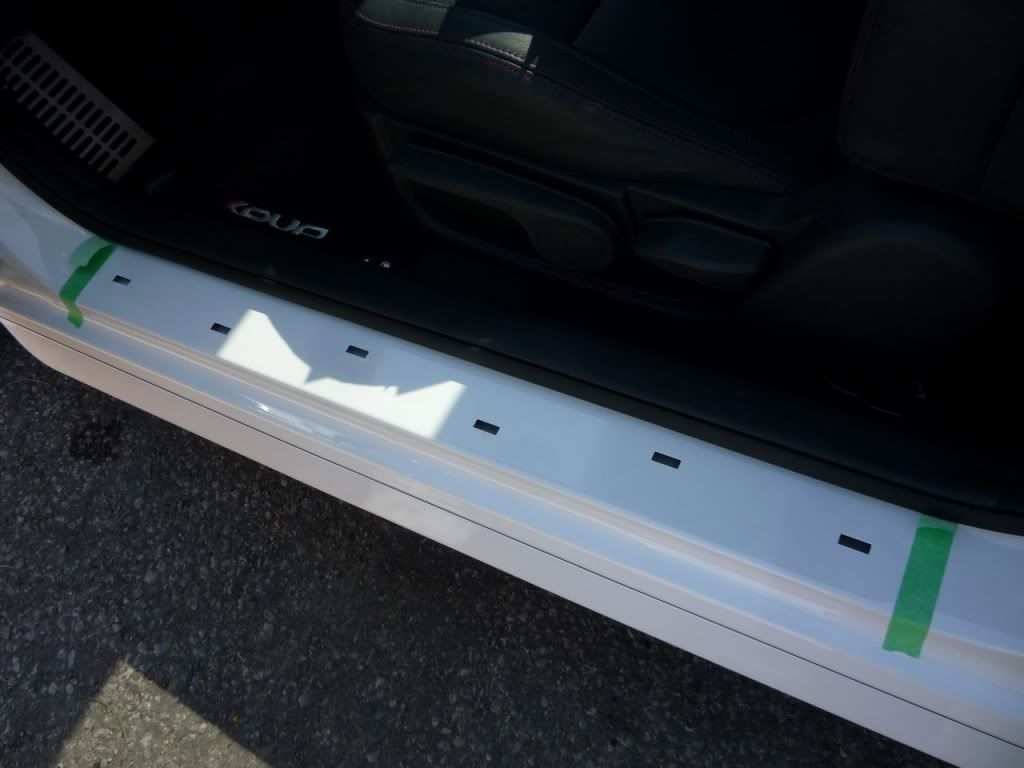
This image has been resized. Click this bar to view the full image.
Door sill installation complete
This image has been resized. Click this bar to view the full image.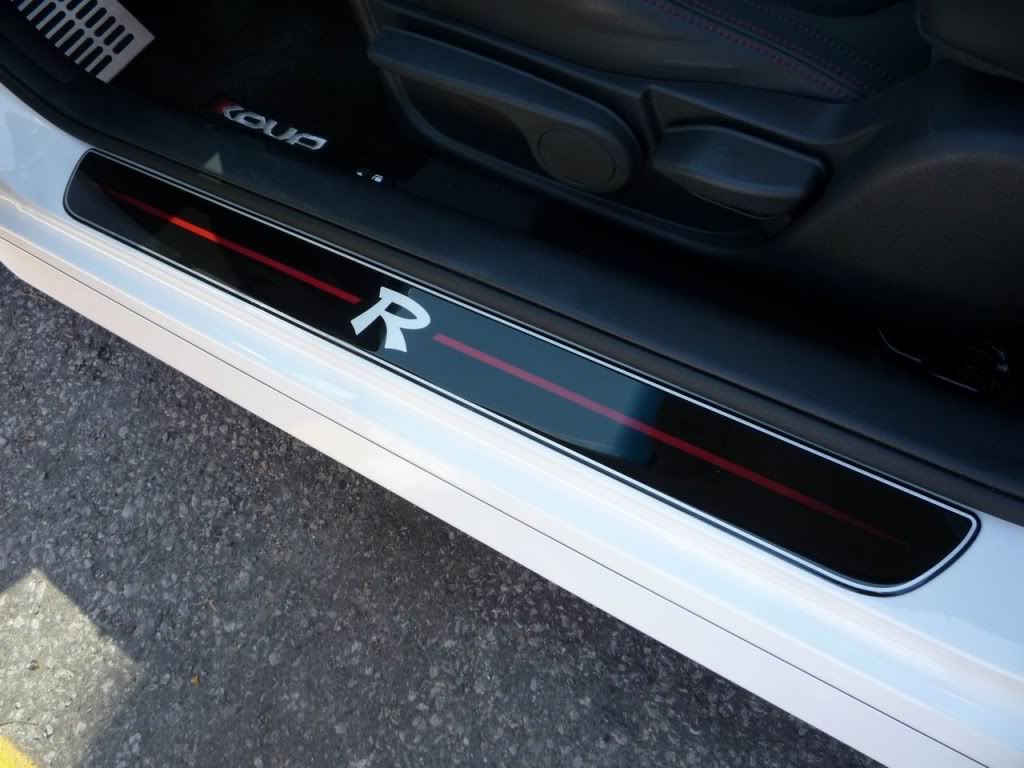
R Badge
I cut the template and held it up to the fender to understand where I need to prep.
I then proceeded to clean the surface and taped the template in place. The template can then be used on the opposite side of the vehicle by simply flipping the template around.
This image has been resized. Click this bar to view the full image.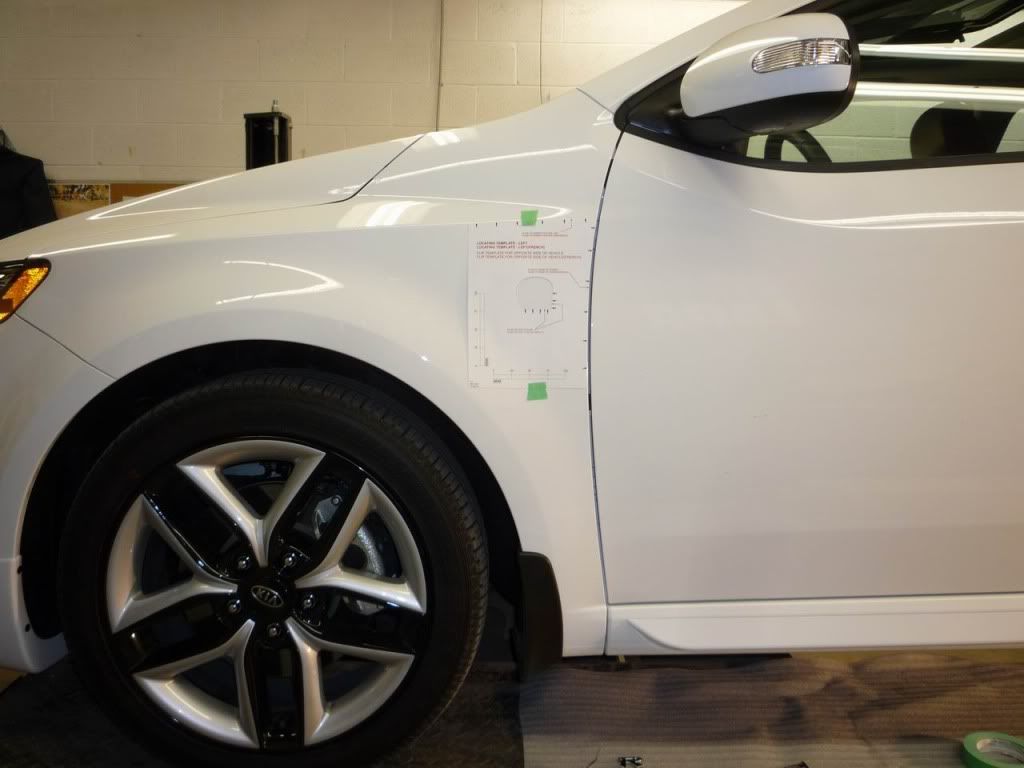
This image has been resized. Click this bar to view the full image.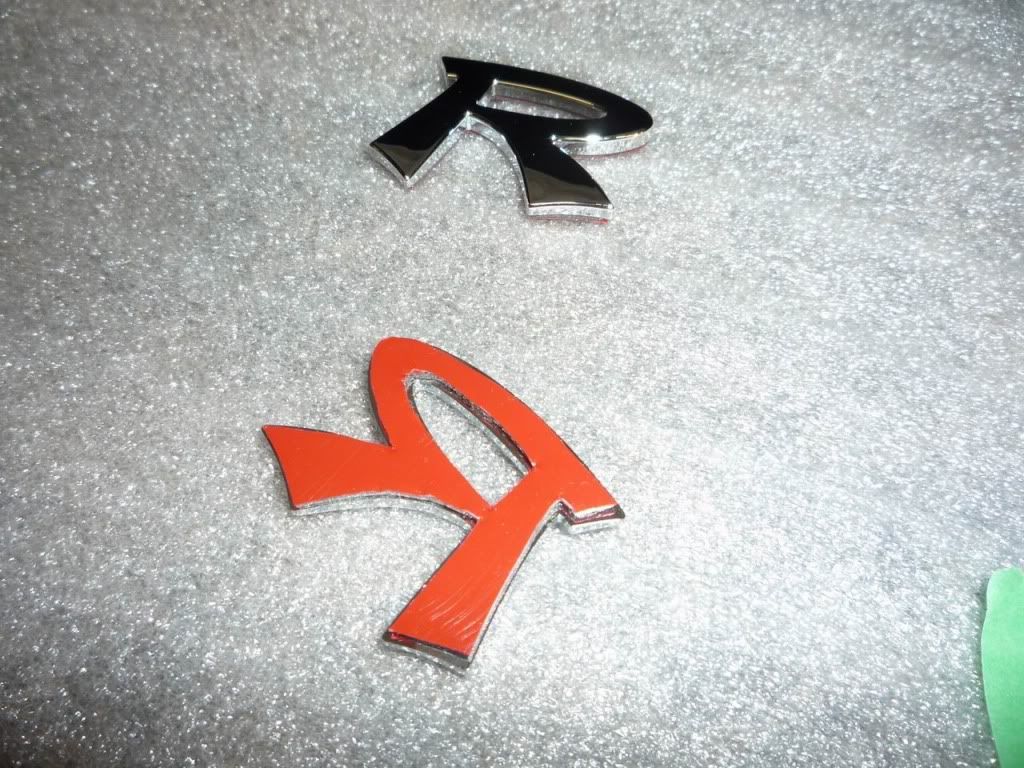
This image has been resized. Click this bar to view the full image.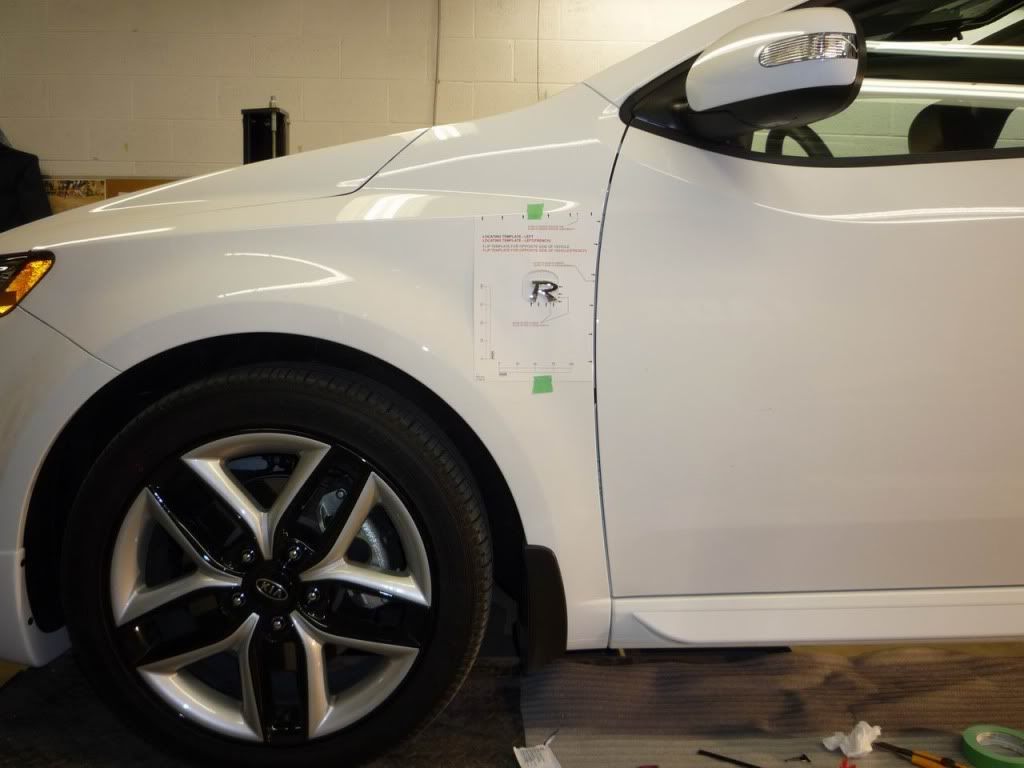
This image has been resized. Click this bar to view the full image.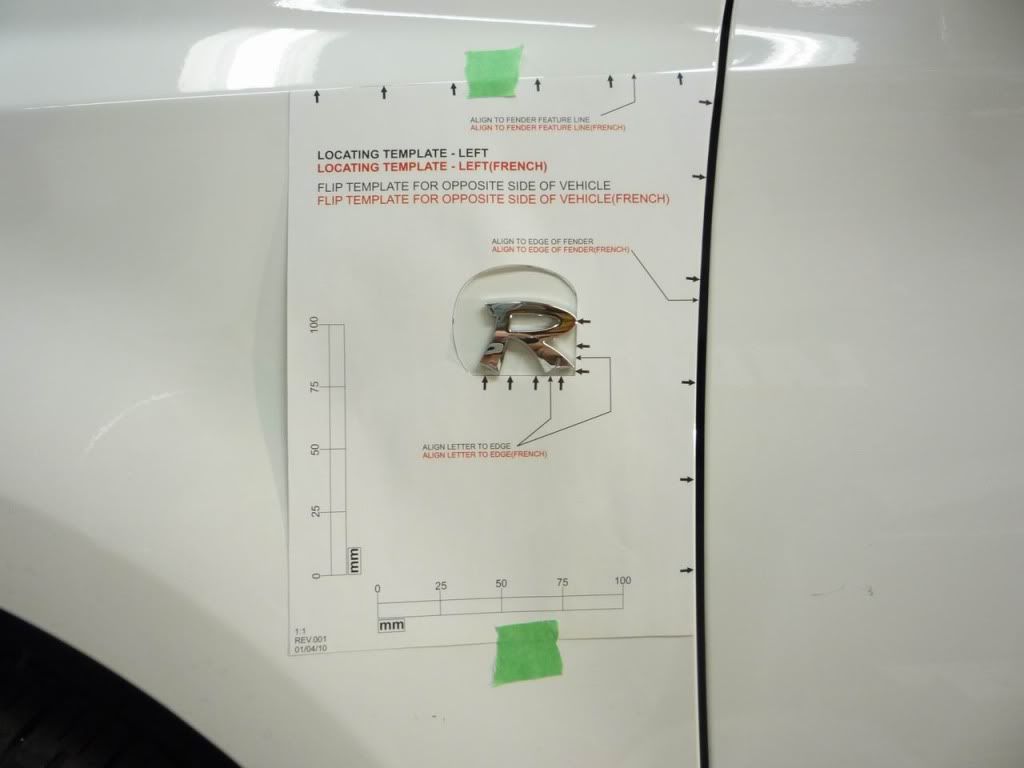
This image has been resized. Click this bar to view the full image.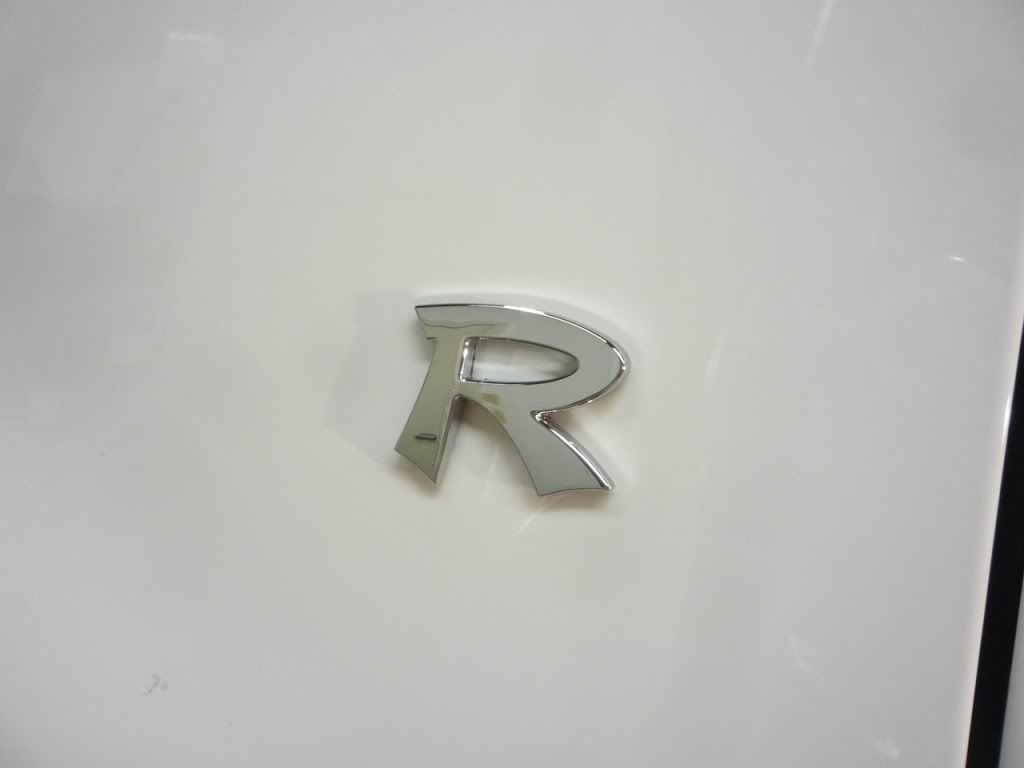
This image has been resized. Click this bar to view the full image.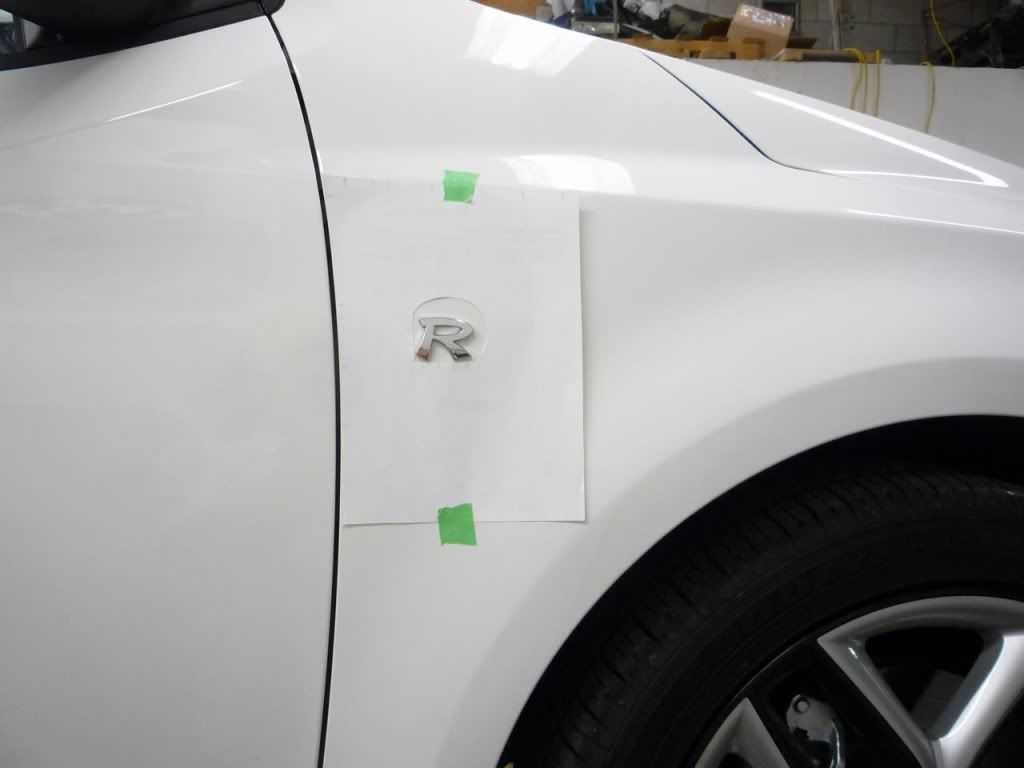 [COLOR="Navy"][SIZE="6"]إنا لله وإنا إليه راجعون
ولا تحسبن الذين قتلوا في سبيل الله أمواتا بل أحياء عند ربهم يرزقون [/SIZE][/COLOR]Comment


Comment